Hello, how are you?
Recently, I’ve been sharing stories about traditional Japanese patterns.
By chance, I came across an experience called
“Making a Goshuin book using 100-year-old woodblocks at a Kyo-Karakami workshop.”
And before I knew it, I thought, “Why not go to Kyoto?” — and signed up right away.
This time, I’d like to introduce the process through this hands-on experience.
What is Kyo-Karakami and Katazome (Stencil Dyeing)?
There are various techniques to dye colors and patterns onto paper or fabric, such as hand-dyeing and stencil dyeing.
I have always been fascinated by the beauty of finely carved, repetitive patterns and the transfer techniques using woodblocks and stencils.
Materials used for these techniques include:
- Woodblocks
- Metal plates
- Paper stencils
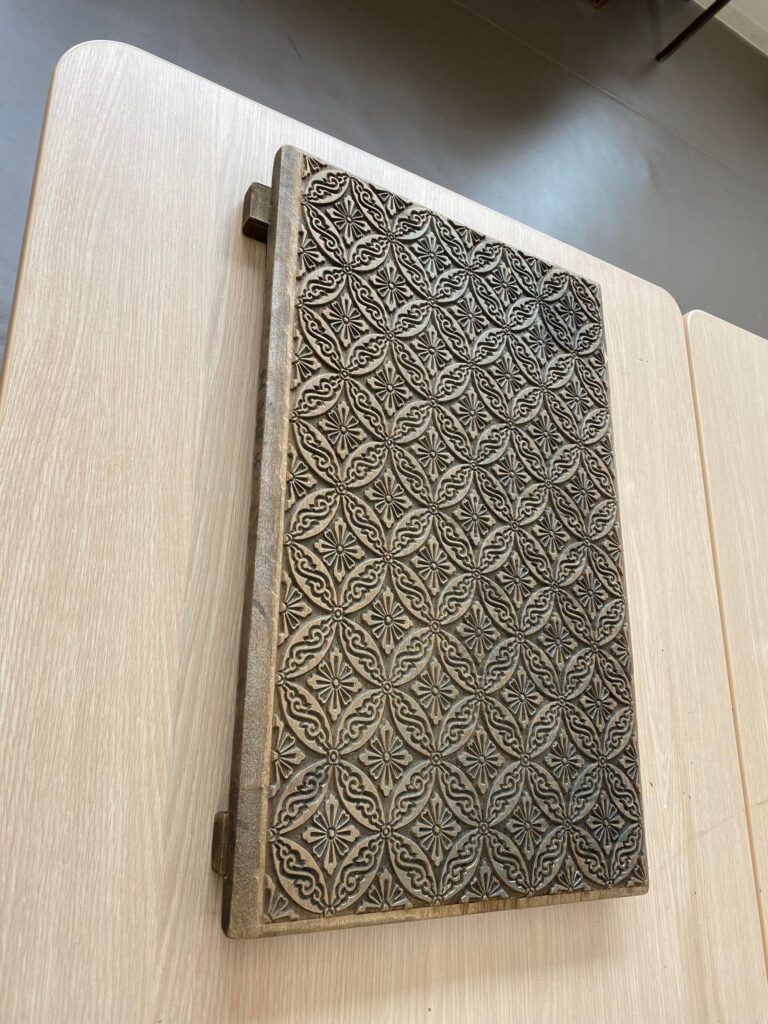
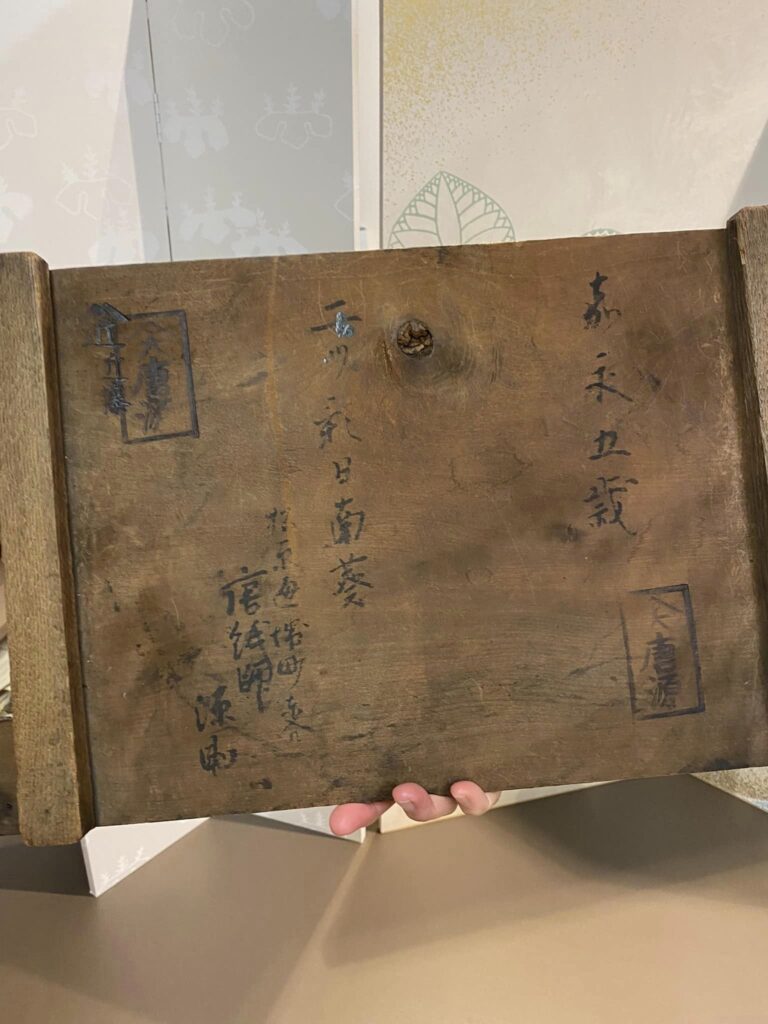
Woodblocks are familiar to many of us through printmaking.
In this experience, we transferred patterns carved into wooden blocks onto karakami paper.
“Karakami” originally refers to decorative paper that came from China about 1,300 years ago during the Tang Dynasty.
Later, domestic production developed mainly in Kyoto, and it became known as Kyo-Karakami.
Even today, Kyo-Karakami is made using traditional materials and tools through the following process.
The Process of Making Karakami
Here are the main steps:
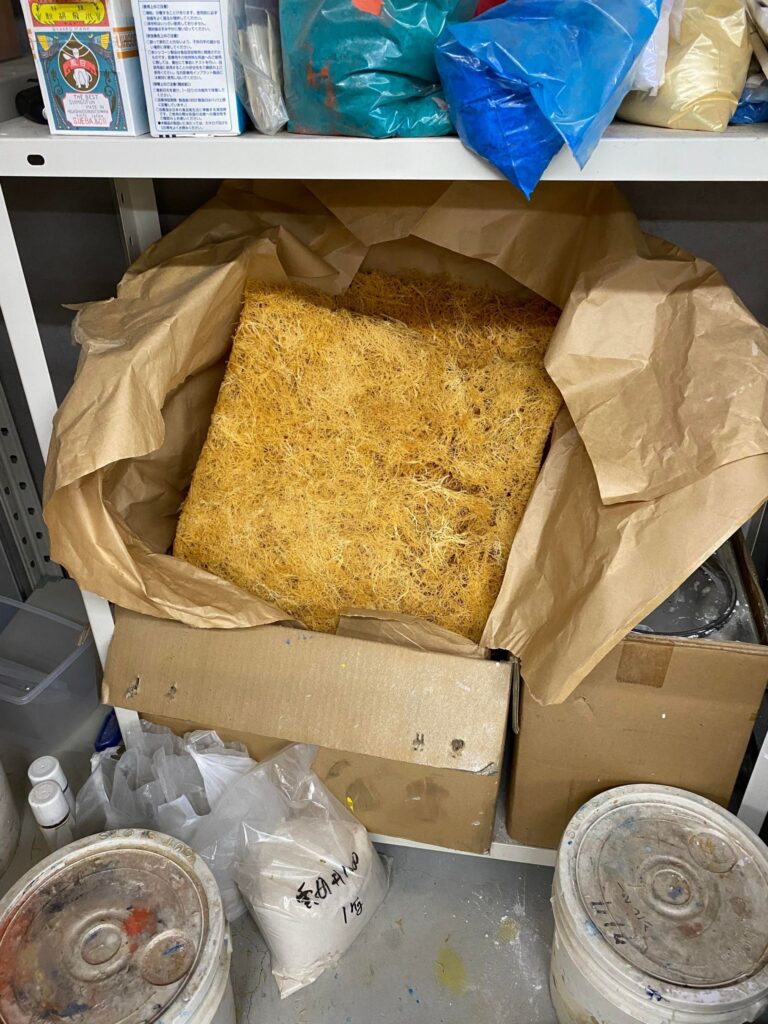
1. Boiling Funori (seaweed glue)
Funori, a type of seaweed, is used as an adhesive for pigments and mica.
It is slowly boiled for a full day, then strained.
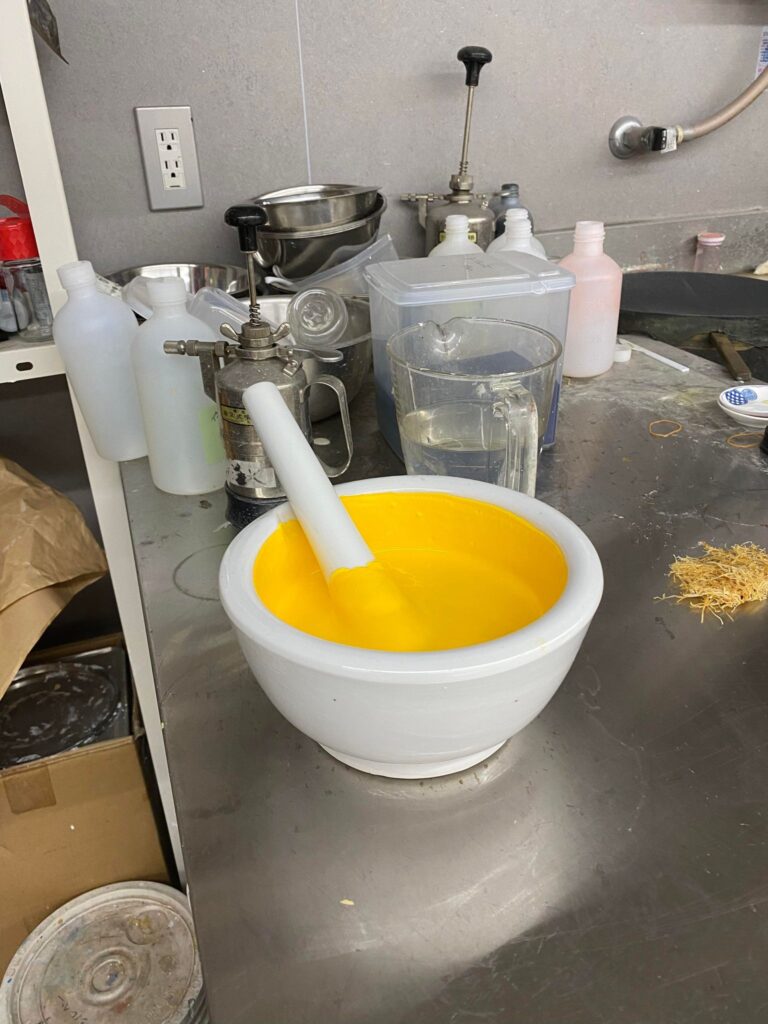
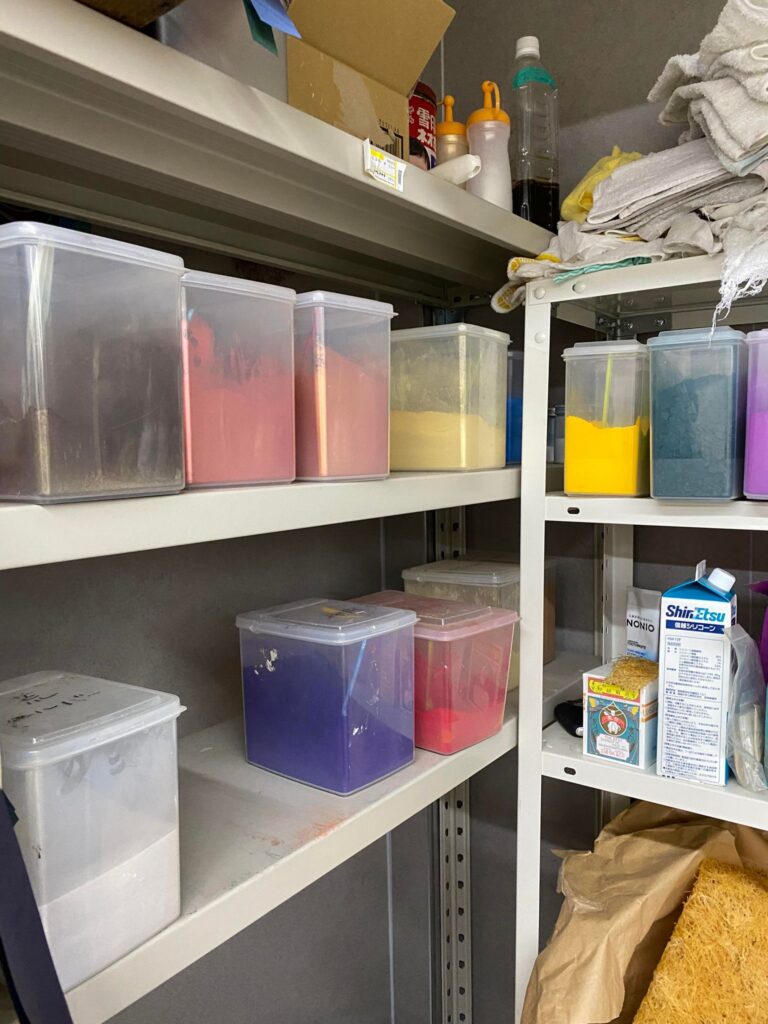
2. Mixing pigments
The filtered glue is blended with mica, shell powder, and pigments to adjust the color.
The mixture varies depending on temperature and humidity.
- Mica (Kira): Adds a unique shimmer and reflects light
- Gofun: Powder made from shells, used to create various colors
3. Transferring pigment to a sieve brush
A special tool called a sieve (made with a wooden frame and gauze) is used.
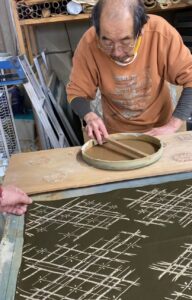
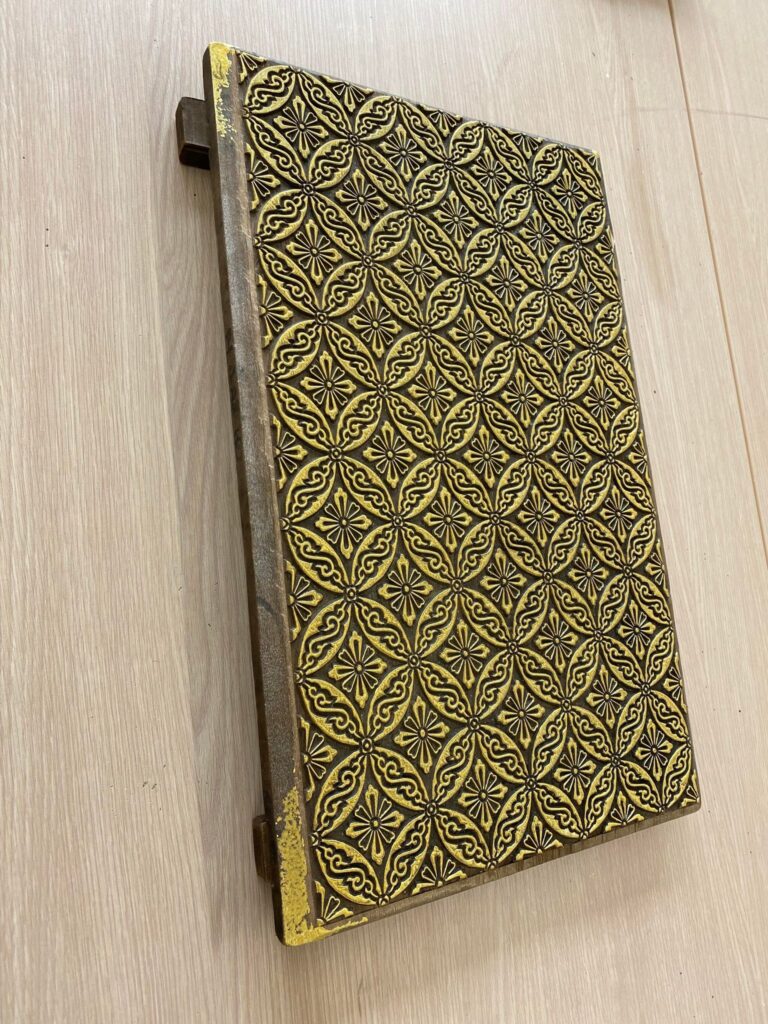
4. Applying pigment to the woodblock
Pigment is gently pressed onto the carved woodblock using the sieve.
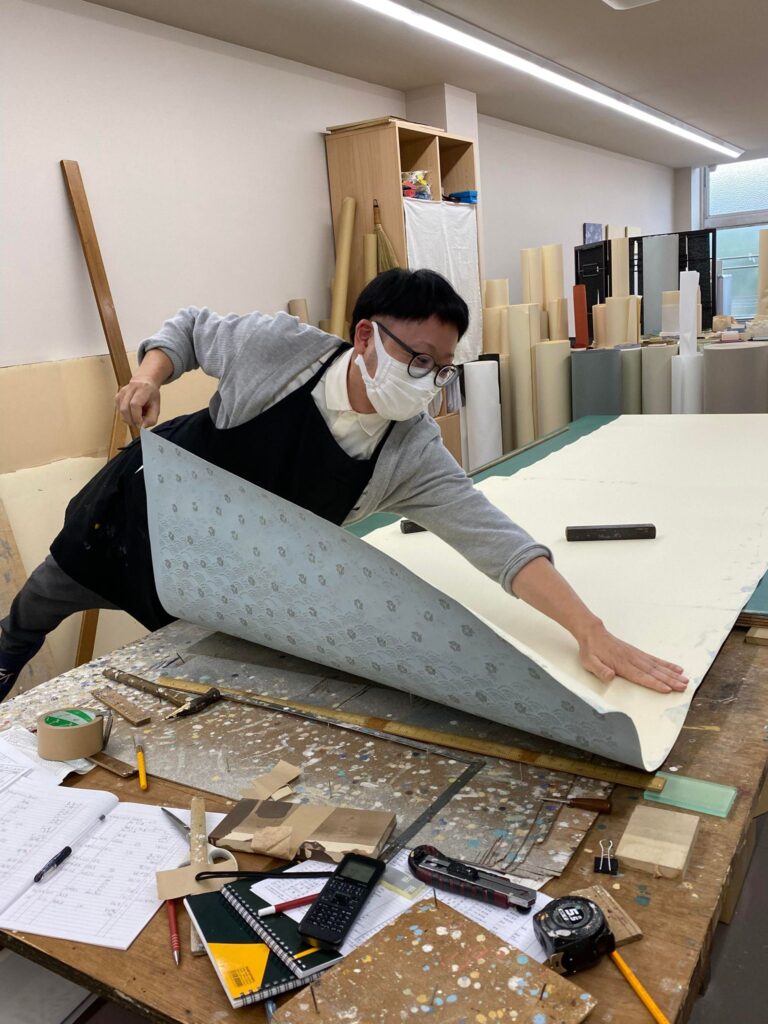
5. Placing the paper
The paper is carefully aligned with the block. Even slight misalignment can distort the pattern.
6. Rubbing by hand
The back of the paper is rubbed in circular motions by hand to transfer the pattern.
7. Printing twice
The same area is printed twice to create a richer, softer texture.
8. Drying
Normally air-dried, but in this workshop, we used a dryer for quicker results.
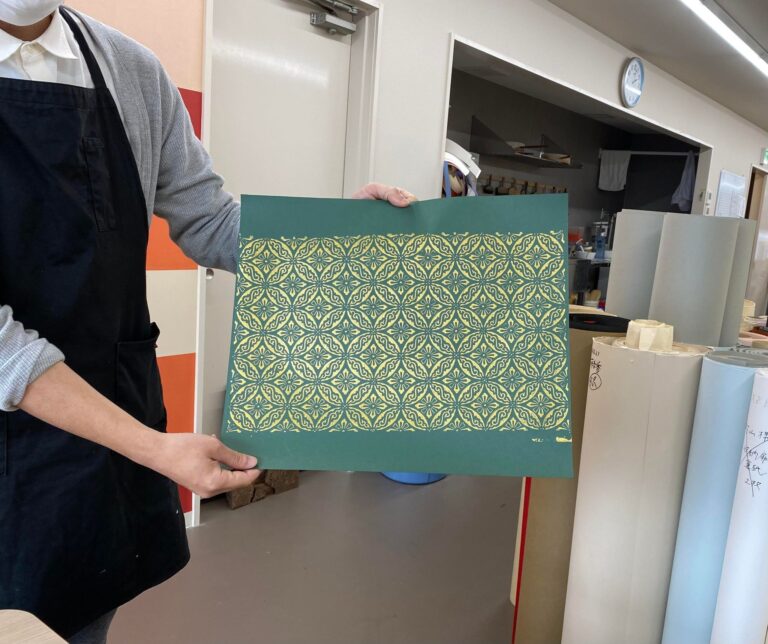
During this experience, I worked mainly on steps 3 to 8,
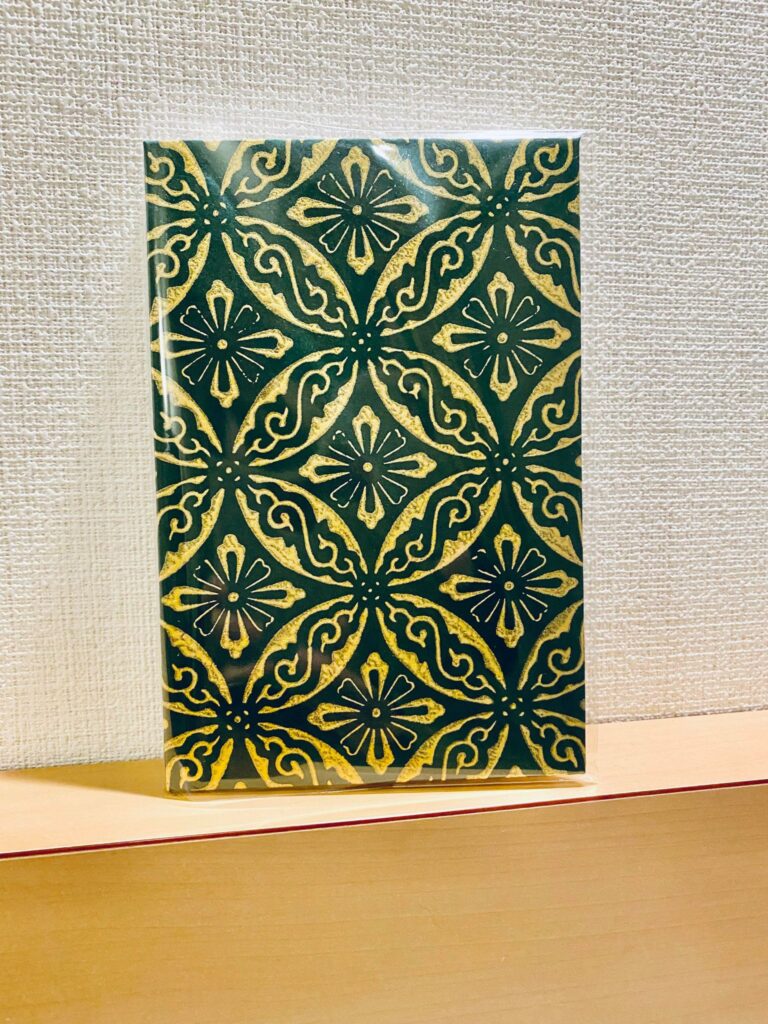
printing auspicious gold patterns onto dark green paper.
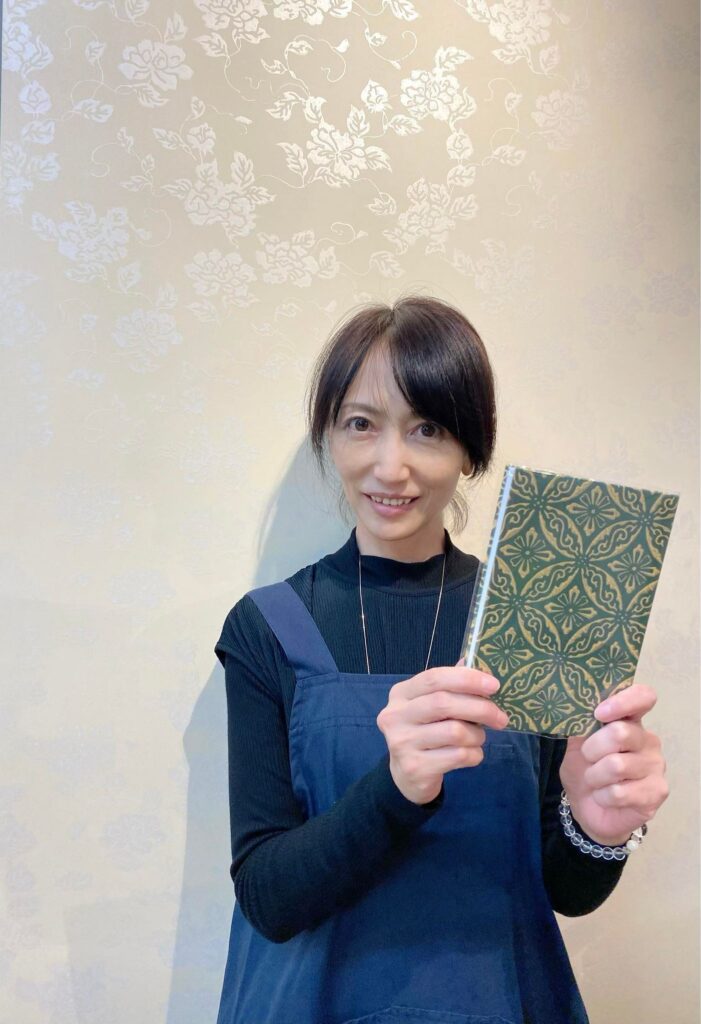
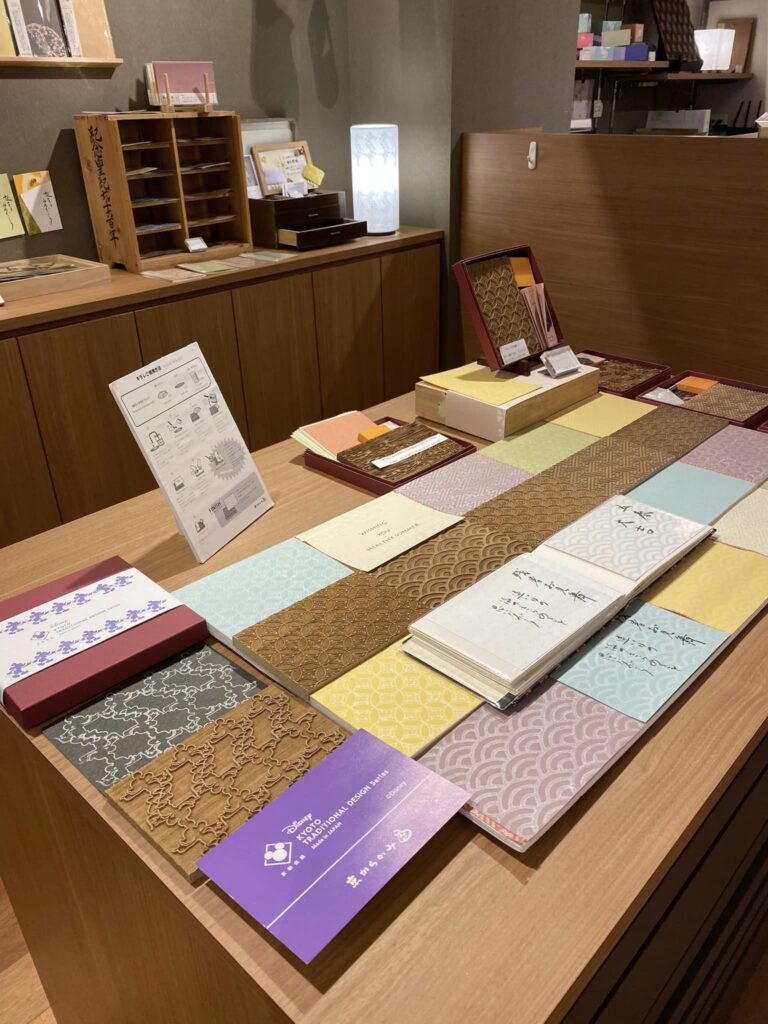
Afterward, the printed paper was cut and assembled into a goshuin book.
The Charm of Hand Printing
One of the unique aspects of Kyo-Karakami is that the pattern is transferred by hand.
The slight variations and the soft, raised texture create a warmth and depth that cannot be replicated by machines.
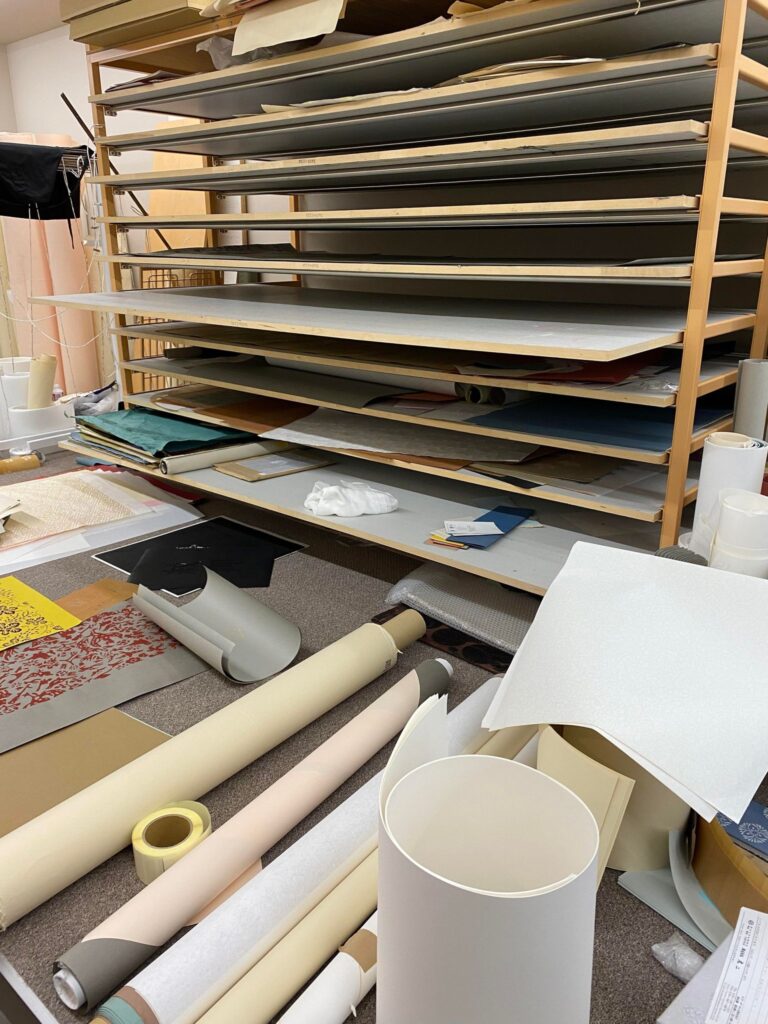
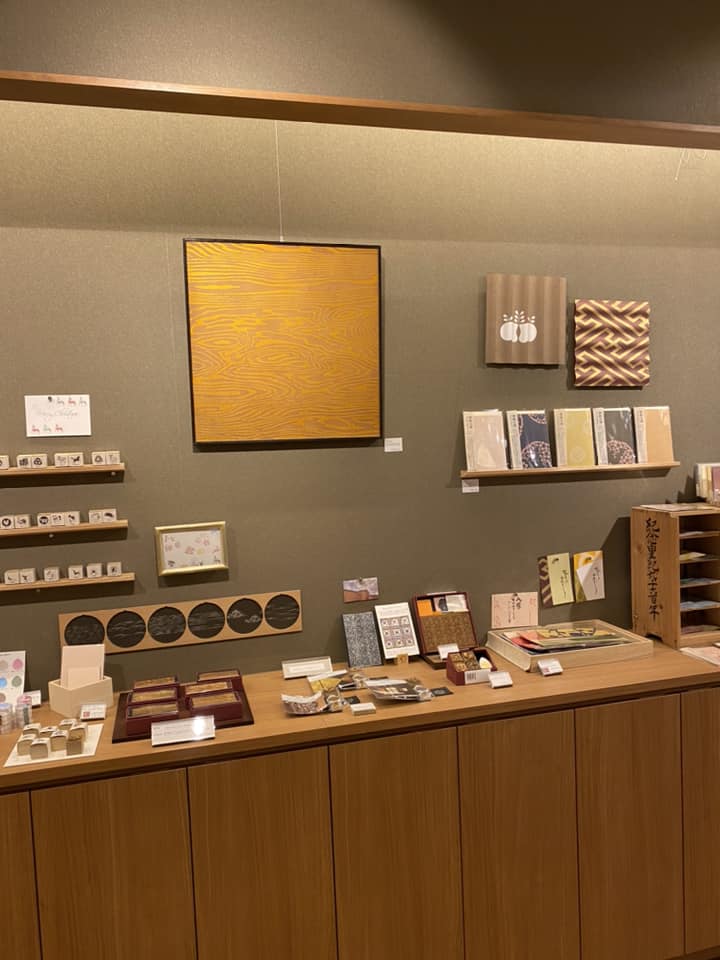
I also had the chance to see original woodblocks and finished works.
Today, artisans sometimes reinterpret old patterns with modern colors or create custom designs based on requests.
Seeing these woodblocks up close, I was deeply impressed by how designs created hundreds of years ago still feel modern and refined today.
It truly reminded me of the incredible craftsmanship and artistic sensibility of Japan.
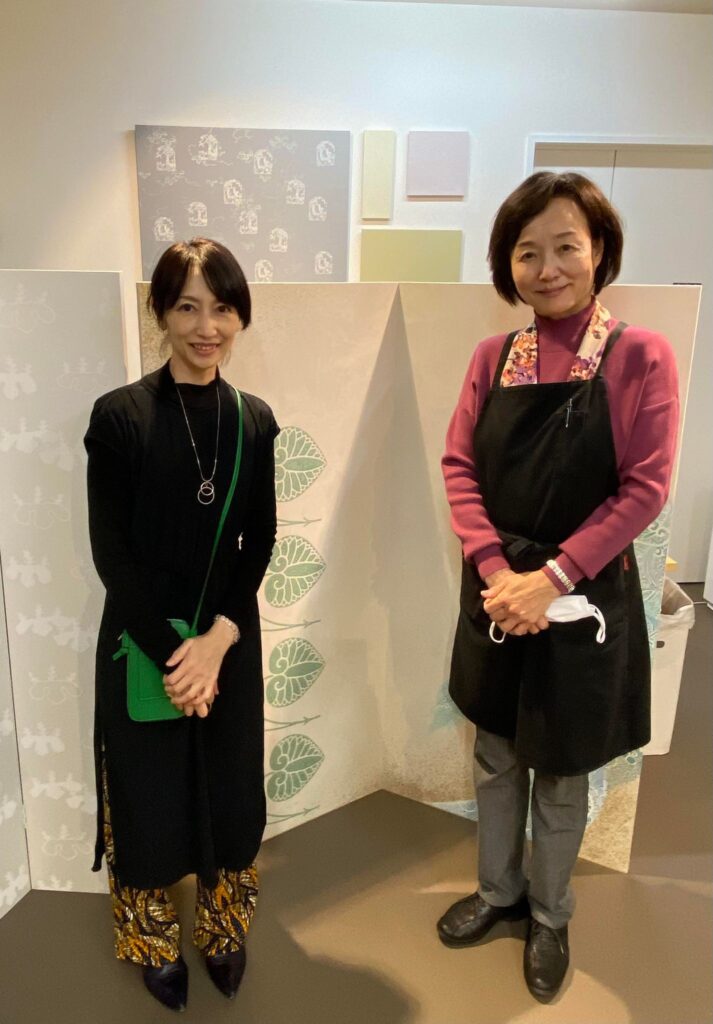
Finally, I would like to express my sincere gratitude to the artisans and staff who guided me through this experience.
Thank you very much.


#唐紙
#文様
#そうだ京都に行こう
#ノープラン
#文様文化
#吉祥文様
#京都旅
#kATAKAMI
#からかみ
#唐紙
#KARAKAMI
#御朱印帳づくり
#goshuincho
#japanese_pattern
#日本の伝統
#体験ツアー
#Kyoto
#唐丸
#京からかみ体験工房